My Gaming Rig Doubles as a Homelab and Serves Internet Traffic (Part 1: Meet Podman and Tailnet)
I didn't set out to build a homelab. I just wanted to self-host my photos and Immich made this choice more compelling.
The thing is, Immich needs a GPU for face recognition and renting cloud GPU felt wasteful.
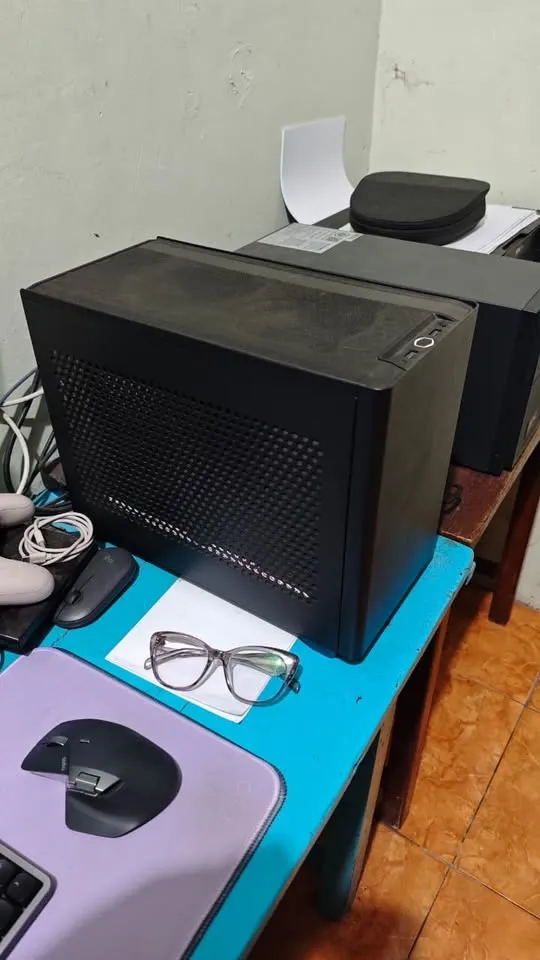
Oh look, I already have a machine with a GPU (RTX 3070Ti with 8GB VRAM) sitting on my desk: a gaming rig running Bazzite. It plays my Steam library, and now it serves a homelab.
Along the way, I figured I might as well self-host some LLMs using Ollama and slap a chat GUI on top. Big win.
Why Podman Quadlets
Bazzite is a Fedora-based immutable distro. In the Fedora or Red Hat ecosystem, Podman is the default container runtime, not Docker. That's fine. Podman works. I figured I'd use podman-compose and get the same Docker Compose experience.
Then I tried to set up GPU passthrough. Podman on its own? GPU works. Podman Compose? Absolutely refuses to see it. Same machine. Same runtime. I tried a few things, got nowhere, and decided life's too short. Quadlets it is.
Podman Quadlets are systemd unit files for containers. If you've written a .service file before, they feel familiar. Each container gets a .container. Here's immich-ml.container for example:
[Unit]
Description=Immich Machine Learning
After=network-online.target

[Container]
ContainerName=immich-ml
Image=ghcr.io/immich-app/immich-machine-learning:release
Volume=%h/.app-storage/immich/model-cache:/cache:z
Network=default.network

# GPU support via CDI
AddDevice=nvidia.com/gpu=all
SecurityLabelDisable=true

AutoUpdate=registry

[Service]
Restart=always
TimeoutStartSec=900

[Install]
WantedBy=default.target
GPU passthrough? One line: AddDevice=nvidia.com/gpu=all. It just worked.
The systemd integration is the real win:
systemctl --user start immich-mljournalctl --user -u immich-ml -f- dependencies via
Requires=andAfter= - restart policies.
It's like the stuff you'd bolt onto Docker Compose anyway, but systemd style.
OK, maybe doesn't sound as convenient as docker compose up but gotta work with what I have with the limited time I have on Earth.
Why Self-Hosted Headscale
If you're not familiar, Tailscale is a mesh VPN built on WireGuard, devices connect directly to each other. Such private network is called a Tailnet.
Tailscale the company offers a free tier. It's generous. But there's a coordinator server that brokers connections between your devices, and that coordinator is theirs. I decided to self-host Headscale as a substitute because:
I don't trust America.
Okay, that's glib. The real answer: I wanted to tinker with WireGuard overlay networks, and Headscale gave me an excuse to do it in a user-friendly way. It's an open-source, self-hosted Tailscale coordinator. You run it, you control it, you can use the shiny Tailscale apps to connect to it.
Self-hosting Headscale is minimal overhead. It runs on the same VPS that will also handle public traffic (more on that in Part 2). One docker image, one config file, basically zero maintenance.
The Stack
The core of this homelab is two things: photos and LLMs.
Immich is the photo library. It's self-hosted Google Photos, basically: face recognition, search, mobile app, the works. This is the killer app. This is why the homelab exists. My family photos don't belong on someone else's servers.
Ollama runs local LLMs. I point Open-WebUI at it and get a ChatGPT-like interface without sending my prompts to OpenAI. The RTX 3070Ti handles inference.
Open-WebUI is the chat frontend. Clean interface, conversation history, model switching.
Valkey (a Redis fork) and PostgreSQL (with vector extensions) support Immich: caching and storage for all the ML features.
Caddy ties it together as a reverse proxy. Each service gets a subdomain on the Tailnet: chat.nooblab.internal, immich.nooblab.internal.
Not everything is public. Ollama stays on the Tailnet only, I don't need my LLM API exposed to the internet (my GPU, my electricity bill!). Immich and Open-WebUI get public access (via the VPS setup in Part 2), but the raw Ollama port stays private.
The Architecture
Here's how it all fits together:
                         ┌─────────────────┐
                         │      VPS        │
                         │  ┌───────────┐  │
                         │  │ Headscale │  │
                         │  └─────┼─────┘  │
                         └────────┼────────┘
                                  │
                           key exchange,
                          peer discovery
                                  │
        ┌─────────────────────────┼─────────────────────────┐
        │                         │                         │
        ▼                         ▼                         ▼
    ┌───────┐              ┌───────────┐              ┌─────────┐
    │ Phone │◄────────────►│Gaming Rig │◄────────────►│  Laptop │
    └───────┘              └───────────┘              └─────────┘
                  ^ direct WireGuard connections ^

    Gaming Rig runs: Immich, Ollama, Open-WebUI, Caddy, etc.
Headscale is just the coordinator, it brokers key exchange and tells nodes how to find each other. Once that handshake is done, traffic flows directly between devices over WireGuard. Peer-to-peer, encrypted, no middleman routing your packets.
My phone, laptop, and gaming rig are talking directly to each other.
One gaming rig. One VPS. That's the whole infrastructure.
The Repo
The full setup is on GitHub: github.com/ukazap/homelab-example
It includes:
- All Quadlet container definitions
- The Ruby CLI scripts
- Firewall setup docs
- Caddyfile for the reverse proxy
The domains are placeholders (nooblab.internal, apps.example.com). Swap them for your own.
Why Ruby
The repo includes a handful of CLI scripts: bin/start, bin/stop, bin/logs, bin/sync. They wrap systemctl --user commands and handle the tedious bits: syncing Quadlet files to the right directory, resetting failed services before restart, parsing arguments.
I wrote them in Ruby.
This is the part where I'm supposed to justify it. Bash or a Makefile is the "correct" choice for scripts like this. Python if you want something more structured.
But I'm a Rubyist. I tried writing them in Bash first. Looked at the code a few hours later and my eyes hurt.
Ruby's readable. I can come back to these scripts in six months and understand them immediately. That's the whole justification.
Use what you know.
That's Part 1. The gaming rig runs Podman containers via Quadlets, joins a tailnet, and serves Immich and Ollama to my devices, privately, no third parties involved.
But here's the thing: explaining Tailscale to mom and sibling isn't happening. They just want to see the family photos.
In Part 2, I'll cover how the VPS exposes Immich to the internet without Cloudflare Tunnel (or as I like to call it, MiTM as a service).